Hey guys, thanks for coming and checking out our new blog. We’re going to kick it off by talking about a very important part of digital photography: Color Management. Have you ever had the color in your photo’s come out very different than what your eye sees? Or have you ever printed and had the color look nothing like what you see on your monitor? We’re going to give you some good tips as well as show you some cool products that we use to make sure our color is consistent through our whole process of shooting, developing, and printing.
White Balance
White balance is a fitting subject for our first post because it’s the first thing we tell new photographers to start controlling. Getting correct color is an easy way to make your pictures stand out above the rest. First of all, what is white balance? White balance is the camera’s process of making neutrals look neutral, meaning greys are perfectly grey without any color cast. Every kind of light source, has a different color temperature. For example, tungsten light bulbs are generally very warm or orange, while most fluorescent bulbs are more green. Your eyes do a good job of adjusting for this so to you the scene will usually look natural to your eye. But your camera on the other hand will pick up on these color casts so your photos can look too blue, green, or yellow etc. White balance is the camera’s process of removing these unwanted color casts and making neutrals look neutral.
Why not auto white balance?
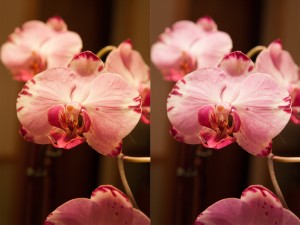
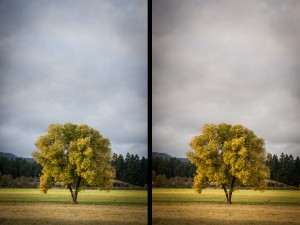
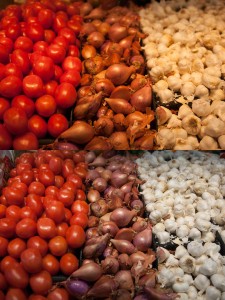
The problem with auto white balance is inconsistent colors. Looking at one photo at a time, they may appear fine, but when you start looking at many next to each other though you’ll notice that they really don’t match. Auto white balance can easily get confused by subjects that are different colors even in the same lighting conditions. Your pictures can end up very inconsistent and trust me, you don’t want to have to fix the color on all the photos individually.
Preset White Balance
One very easy way to get good color on your pictures is to use a preset white balance. Set your camera to the conditions the subject is in. Look at the scene and if the subject is in daylight, set your camera to daylight. If in shade set your camera to shade etc.. Pretty simple and effective, and all your pictures will end up nice and consistent.
Custom White Balance
Mixed lighting is where things can get more difficult. There is no preset for many types of lighting mixed together so the best way to get correct color is using a custom white balance. Instead of choosing what color the light is, you take a reading of it and apply that exact setting to your camera. Even if your subject is in 2 or 3 types of light, setting a custom white balance can make the color look great. But how do you go about getting a custom white balance?
The Expo Disc
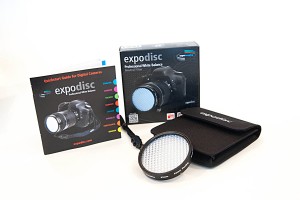
The expo disc, from Expo Imaging, is our favorite way to do a custom white balance. It’s an easy to use device for reading the color of the light falling on your subject. To use you place it in front of your lens, take a picture of the light that’s falling on your subject, apply that to your custom white balance and you’re ready to go. There really is no way simpler to get great color from the start, and just a few seconds getting it right before your shoot can save hours fixing it on the computer.
The box comes with the Expo Disc (which is made in the USA and quality controlled for accuracy) a lanyard strap, a cloth case and a short instruction booklet which gives you some great tips for using it. Depending on the size they go for between about $80 and $100 ( Club members get a discount ). We have them in stock, here at the shop.
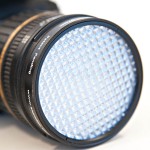
Expo disc on a lens
So if getting a better color in your photos is something you’re interested in, or if you have any questions about the expo disc feel free to come by and see us. We’re always happy to help with any and all questions.
~Nate

